This comprehensive guide provides step-by-step instructions specifically tailored to Mihogo e-bike models, covering both front and rear wheel procedures, safety protocols, and troubleshooting tips to ensure smooth, professional-level maintenance.
Understanding Your Mihogo E-bike Wheel Systems
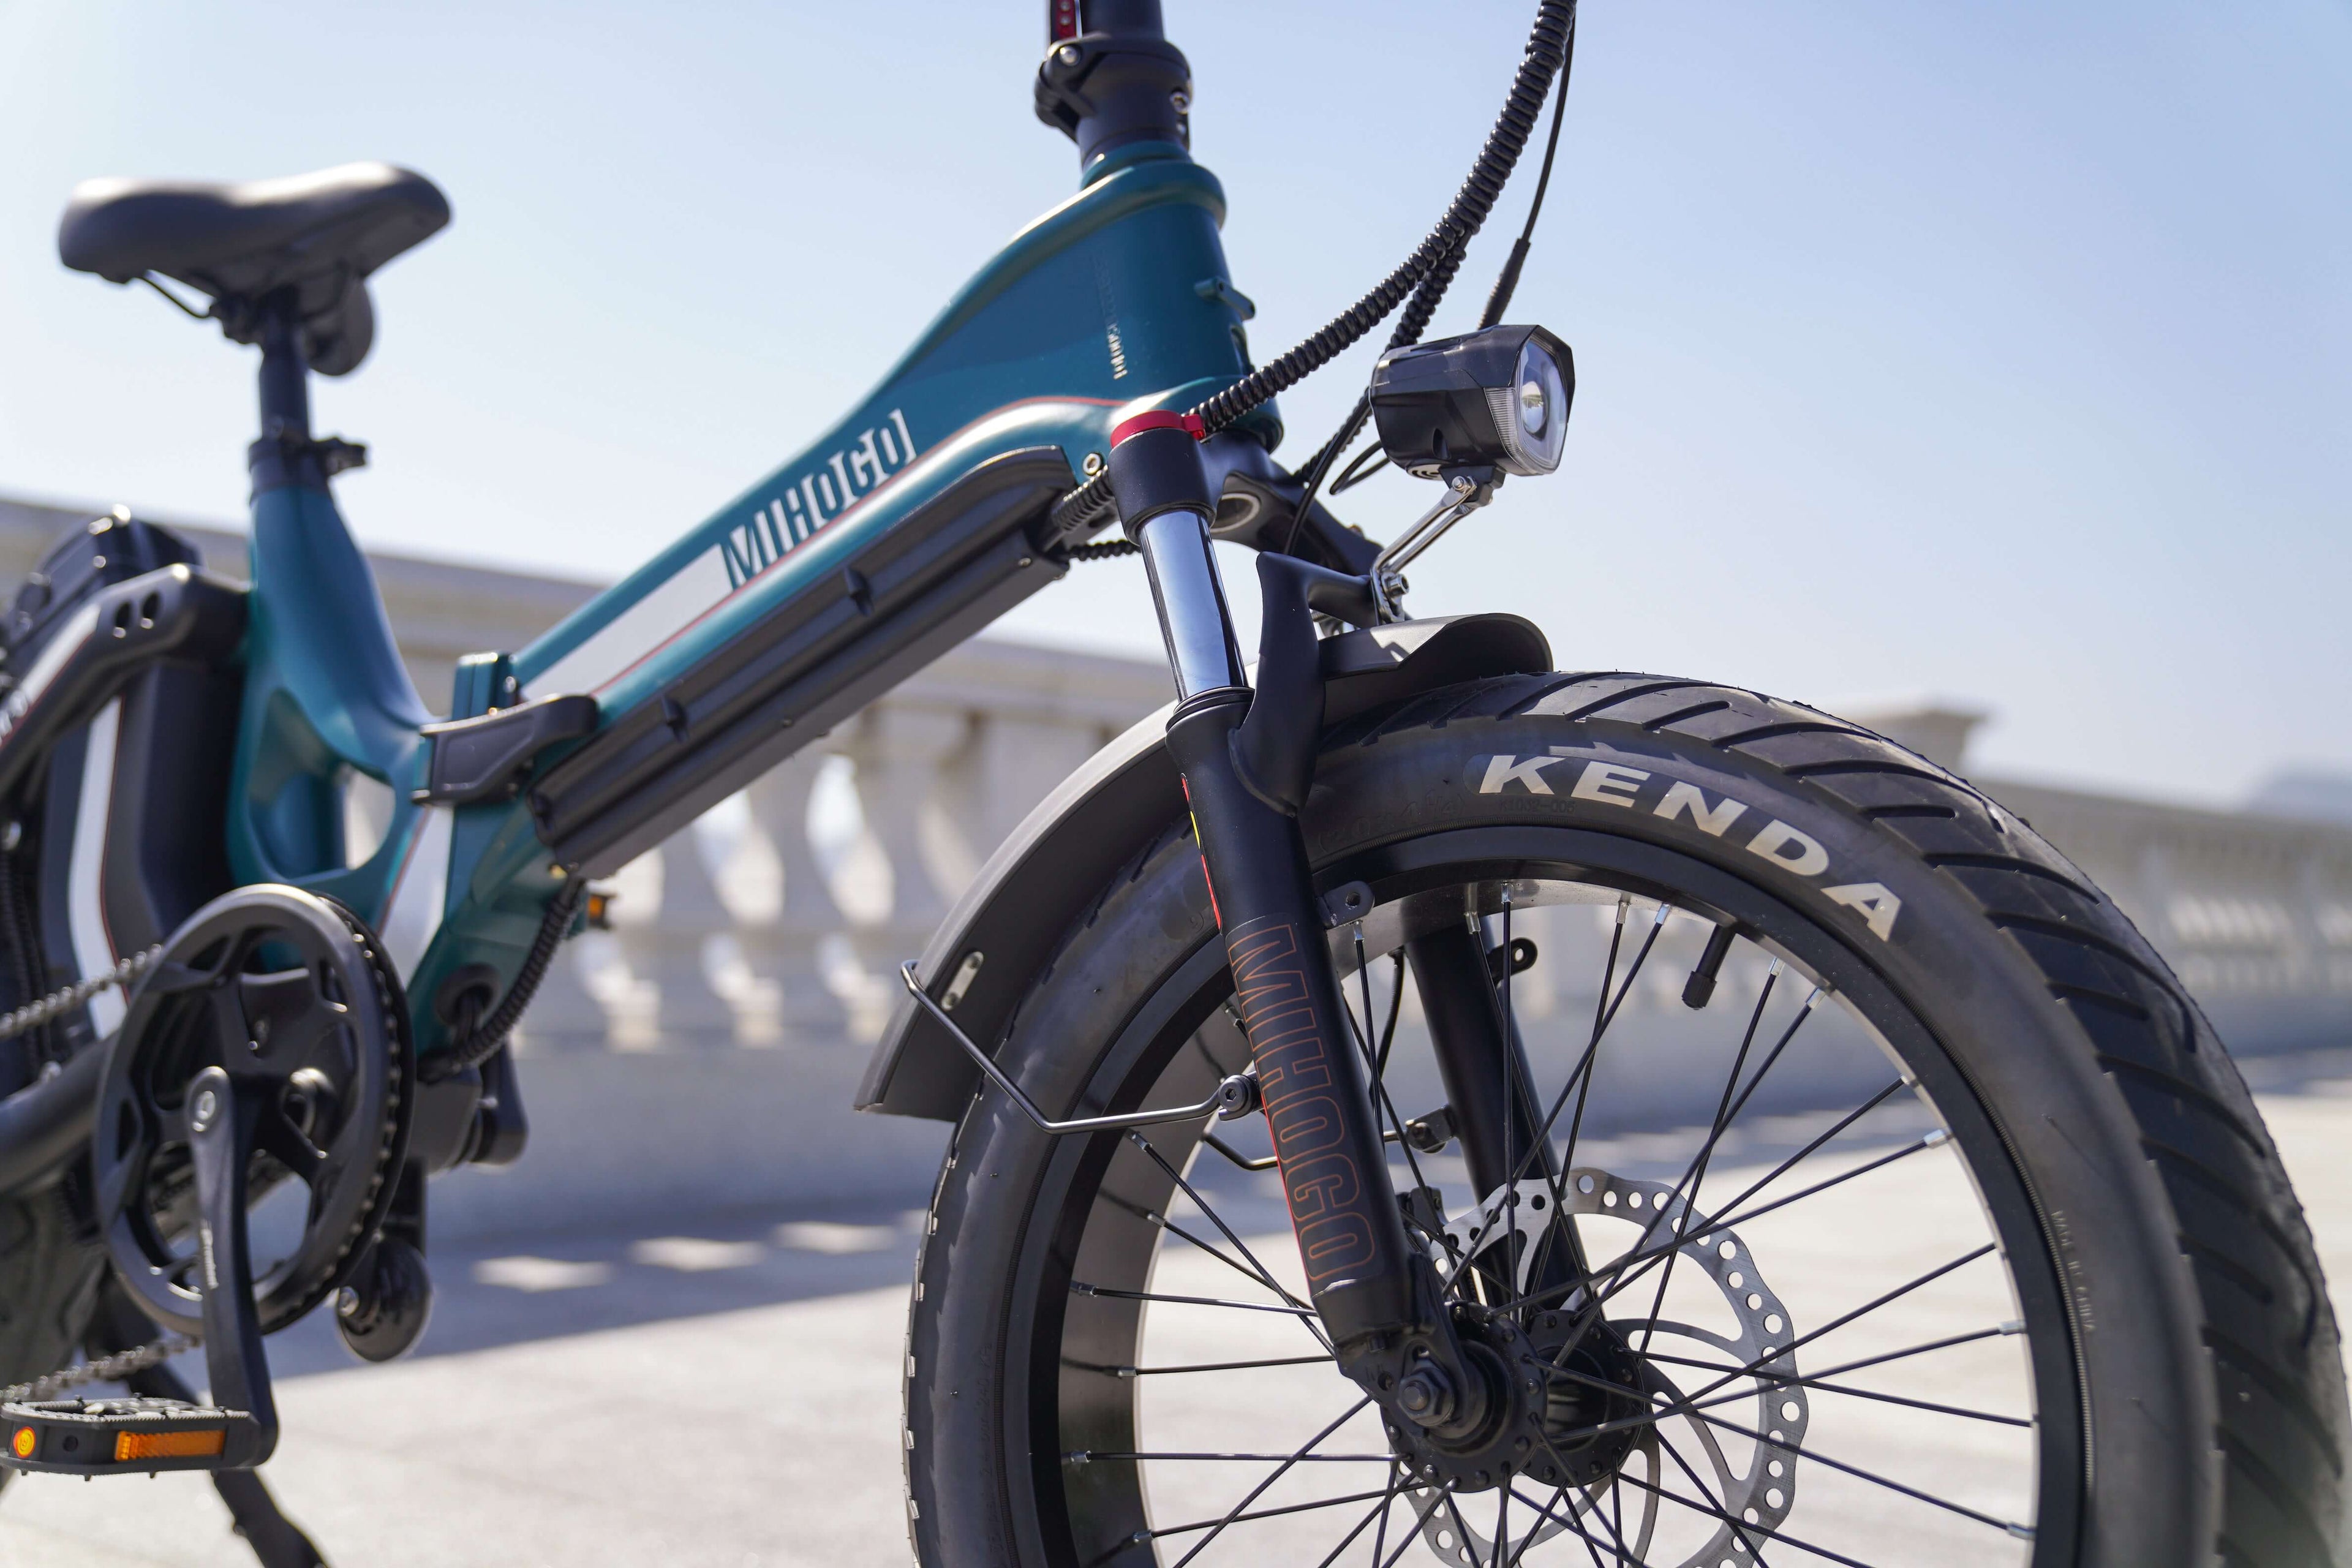
Before diving into the removal process, it's crucial to understand the unique characteristics of your specific Mihogo model:
Mihogo Air Max: Features lightweight carbon fiber construction with dual battery integration and advanced torque sensor systems
Mihogo NX: Utilizes fat tire design (4+ inches) with 750W brushless hub motor and dual battery capability
Mihogo ONE Utility: Designed for cargo applications with robust magnesium alloy frame construction
Mihogo Mini: Compact folding design with high-molybdenum steel frame and 2.4-inch wide high-grip tires
Each model requires specific techniques, but the fundamental principles remain consistent across the Mihogo lineup.
Essential Tools for Mihogo E-bike Wheel Maintenance
Gathering the right tools before starting ensures a smooth, safe process:
Basic Tool Kit:
- 18mm or 19mm wrench (most common for Mihogo axle nuts)
- 15mm wrench (alternate size for some models)
- Allen wrench set (4mm, 5mm, 6mm commonly needed)
- Tire levers (for tire removal)
- Adjustable wrench (backup tool)
- Torque wrench (for precise reassembly)
Safety Equipment:
- Work gloves (protect hands from sharp edges and grease)
- Safety glasses (prevent debris from entering eyes)
- Clean rags or towels (for cleanup and component protection)
Optional Equipment:
- Bike repair stand (elevates bike for easier access)
- Cable ties (replacement for motor cable securing)
- Lubricant (for threaded connections)
Safety Precautions: Critical First Steps
NEVER skip these safety protocols when working on your Mihogo e-bike:
1. Power Down Completely
Always turn off your Mihogo e-bike and remove the battery before beginning any wheel maintenance. This prevents accidental motor activation and potential injury.
2. Disconnect Motor Cables
Your Mihogo's intelligent systems include motor cables that must be safely disconnected before wheel removal to prevent damage to the electrical components.
3. Secure Work Environment
Choose a flat, stable surface with adequate lighting and space to maneuver. Avoid cluttered areas where small parts could be lost.
4. Document Component Positions
Take photos of cable routing, washer positioning, and component alignment before removal to ensure proper reassembly.
Front Wheel Removal: Mihogo Models Step-by-Step
Front wheel removal is generally simpler than rear wheel procedures, but proper technique is essential for safety and component protection.
Step 1: Prepare Your Mihogo E-bike
- Power off the system and remove the battery
- Engage the kickstand or secure the bike in a repair stand
- If equipped with front suspension (like the Mihogo Air or RX models), note any compression settings
Step 2: Release Brake System
For Mihogo models with hydraulic disc brakes:
- Avoid squeezing the brake lever once the wheel is removed
- Ensure adequate clearance between brake pads and rotor
For models with mechanical brakes:
- Release brake cable tension if necessary for clearance
Step 3: Remove Axle Hardware
Most Mihogo models use axle nuts rather than quick-release systems:
- Use the appropriate wrench size (typically 15mm or 18mm)
- Loosen nuts on both sides of the axle
- Remove any washers or spacers, noting their exact position and order
Step 4: Extract the Front Wheel
- Lift the front of the bike slightly
- Guide the wheel out of the fork dropouts
- Be mindful of any remaining brake rotor clearance
Rear Wheel Removal: Advanced Mihogo E-bike Procedure
Rear wheel removal requires additional care due to the motor systems, drivetrain complexity, and intelligent features integrated into your Mihogo e-bike.
Step 1: System Preparation
- Power down and remove battery from your Mihogo e-bike
- Shift to the smallest rear cog (easiest gear) - this reduces chain tension
- Engage the bike stand or flip the bike upside down (protecting the display and controls)
Step 2: Disconnect Intelligent Systems
Your Mihogo's sophisticated electronics require careful handling:
- Locate the motor cable connection (typically on the chainstay)
- Carefully disconnect the motor plug, aligning any directional arrows
- Cut zip ties securing cables if necessary (you'll need new ones for reassembly)
Step 3: Manage the Drivetrain
For Mihogo models with Shimano 7-speed systems:
- Push the rear derailleur backward to create chain slack
- Some models have a derailleur clutch that can be disengaged
- Lift the chain off the rear cassette carefully
Step 4: Remove Axle Hardware
- Use the appropriate wrench (commonly 18mm for Mihogo models)
- Loosen axle nuts on both sides
- Critical: Pay attention to anti-turn washers and spacers - these must be reinstalled in the exact same order and position
Step 5: Extract the Rear Wheel
- Support the bike frame with one hand
- Guide the rear wheel out of the dropouts with the other
- Allow the chain and derailleur to move naturally as the wheel is removed
Tire and Tube Replacement on Mihogo E-bikes
Once the wheel is removed, you can perform tire maintenance:
Tire Removal Process:
- Deflate completely - Release all remaining air from the tube
- Unseat the tire bead - Push the tire bead toward the center of the rim to create slack
- Use tire levers - Start opposite the valve stem and work around the wheel
- Remove the tube - Pull the old tube out carefully, noting any puncture locations
Installation Process:
- Inspect the tire - Check for embedded debris or wear patterns
- Install new tube - Inflate slightly to give it shape
- Seat the tire - Work the tire bead back onto the rim, avoiding pinching the tube
- Final inflation - Inflate to the pressure specified on your Mihogo tire sidewall
Wheel Installation: Reversing the Process
Proper installation is critical for safety and performance:
Rear Wheel Installation:
- Position the wheel - Align with the smallest cog and guide into dropouts
- Check brake rotor alignment - Ensure the disc sits properly between brake pads
- Install washers and spacers - Use your photos to ensure correct positioning
- Tighten axle nuts - Use proper torque specification for your Mihogo model
- Reconnect motor cable - Align arrows and secure connection
- Test functionality - Spin wheel to check for rubbing or binding
Front Wheel Installation:
- Guide wheel into dropouts - Ensure proper seating in fork
- Install hardware - Replace washers and nuts in original order
- Tighten to specification - Use torque wrench for precision
- Check brake alignment - Verify rotor position and pad clearance
Advanced Troubleshooting for Mihogo E-bikes
Common Issues and Solutions:
Motor Cable Won't Disconnect:
- Apply gentle pressure while twisting slightly
- Use small amount of dielectric grease if connection is tight
- Never force or pull hard on cables
Brake Noise After Reinstallation:
- Check brake rotor alignment between pads
- Verify wheel is properly seated in dropouts
- Adjust brake caliper position if necessary
Chain Won't Engage Properly:
- Ensure rear wheel is positioned correctly in dropouts
- Check derailleur hanger alignment
- Verify proper chain routing around guide pulleys
Wheel Wobble After Installation:
- Recheck axle nut tightness on both sides
- Verify all washers and spacers are properly positioned
- Ensure wheel is fully seated in dropouts
Maintenance Tips for Mihogo E-bike Wheels
Regular Inspection Schedule:
- Weekly: Check tire pressure and visual inspection for wear
- Monthly: Inspect spokes, check brake rotor for true alignment
- Quarterly: Deep clean hubs and lubricate moving parts
Performance Optimization:
- Maintain proper tire pressure for your riding style and terrain
- Keep brake rotors clean and free from contamination
- Monitor spoke tension for optimal wheel strength
Mihogo-Specific Considerations:
- Your dual battery system may affect weight distribution - adjust accordingly
- The intelligent systems require careful cable management during maintenance
- Regular maintenance extends the life of advanced components like torque sensors
When to Seek Professional Help
While this guide covers comprehensive wheel maintenance, certain situations require professional expertise:
- Motor hub issues requiring electrical diagnosis
- Complex drivetrain problems beyond basic adjustment
- Brake system bleeding for hydraulic systems
- Frame damage affecting dropout alignment
Your local Mihogo service center can provide specialized support for complex electrical and mechanical issues.
Conclusion: Mastering Mihogo E-bike Wheel Maintenance
Understanding how to properly remove and install wheels on your Mihogo electric bike empowers you to perform essential maintenance, handle emergency repairs, and better understand your sophisticated e-bike system. Whether you're maintaining a high-performance Air Max with its 128-mile range capability or servicing the compact Mihogo Mini for urban commuting, these skills ensure reliable, safe operation.
Key Takeaways:
- Always prioritize safety by powering down and disconnecting the battery
- Document component positions before disassembly
- Handle intelligent systems and motor cables with appropriate care
- Use proper torque specifications during reassembly
- Regular maintenance prevents major issues and extends component life
Ready to tackle your next Mihogo e-bike maintenance session? Armed with these professional techniques, you can confidently maintain your electric bike's wheels, ensuring optimal performance and safety for every ride.
Remember, proper wheel maintenance is fundamental to your Mihogo's performance optimization and longevity. Master these techniques, and you'll enjoy countless miles of reliable, efficient electric biking.
For additional maintenance resources, technical specifications, and advanced repair techniques, visit the comprehensive bicycle maintenance guide for broader industry knowledge and best practices.