Understanding Your Mihogo E-bike's Brake System
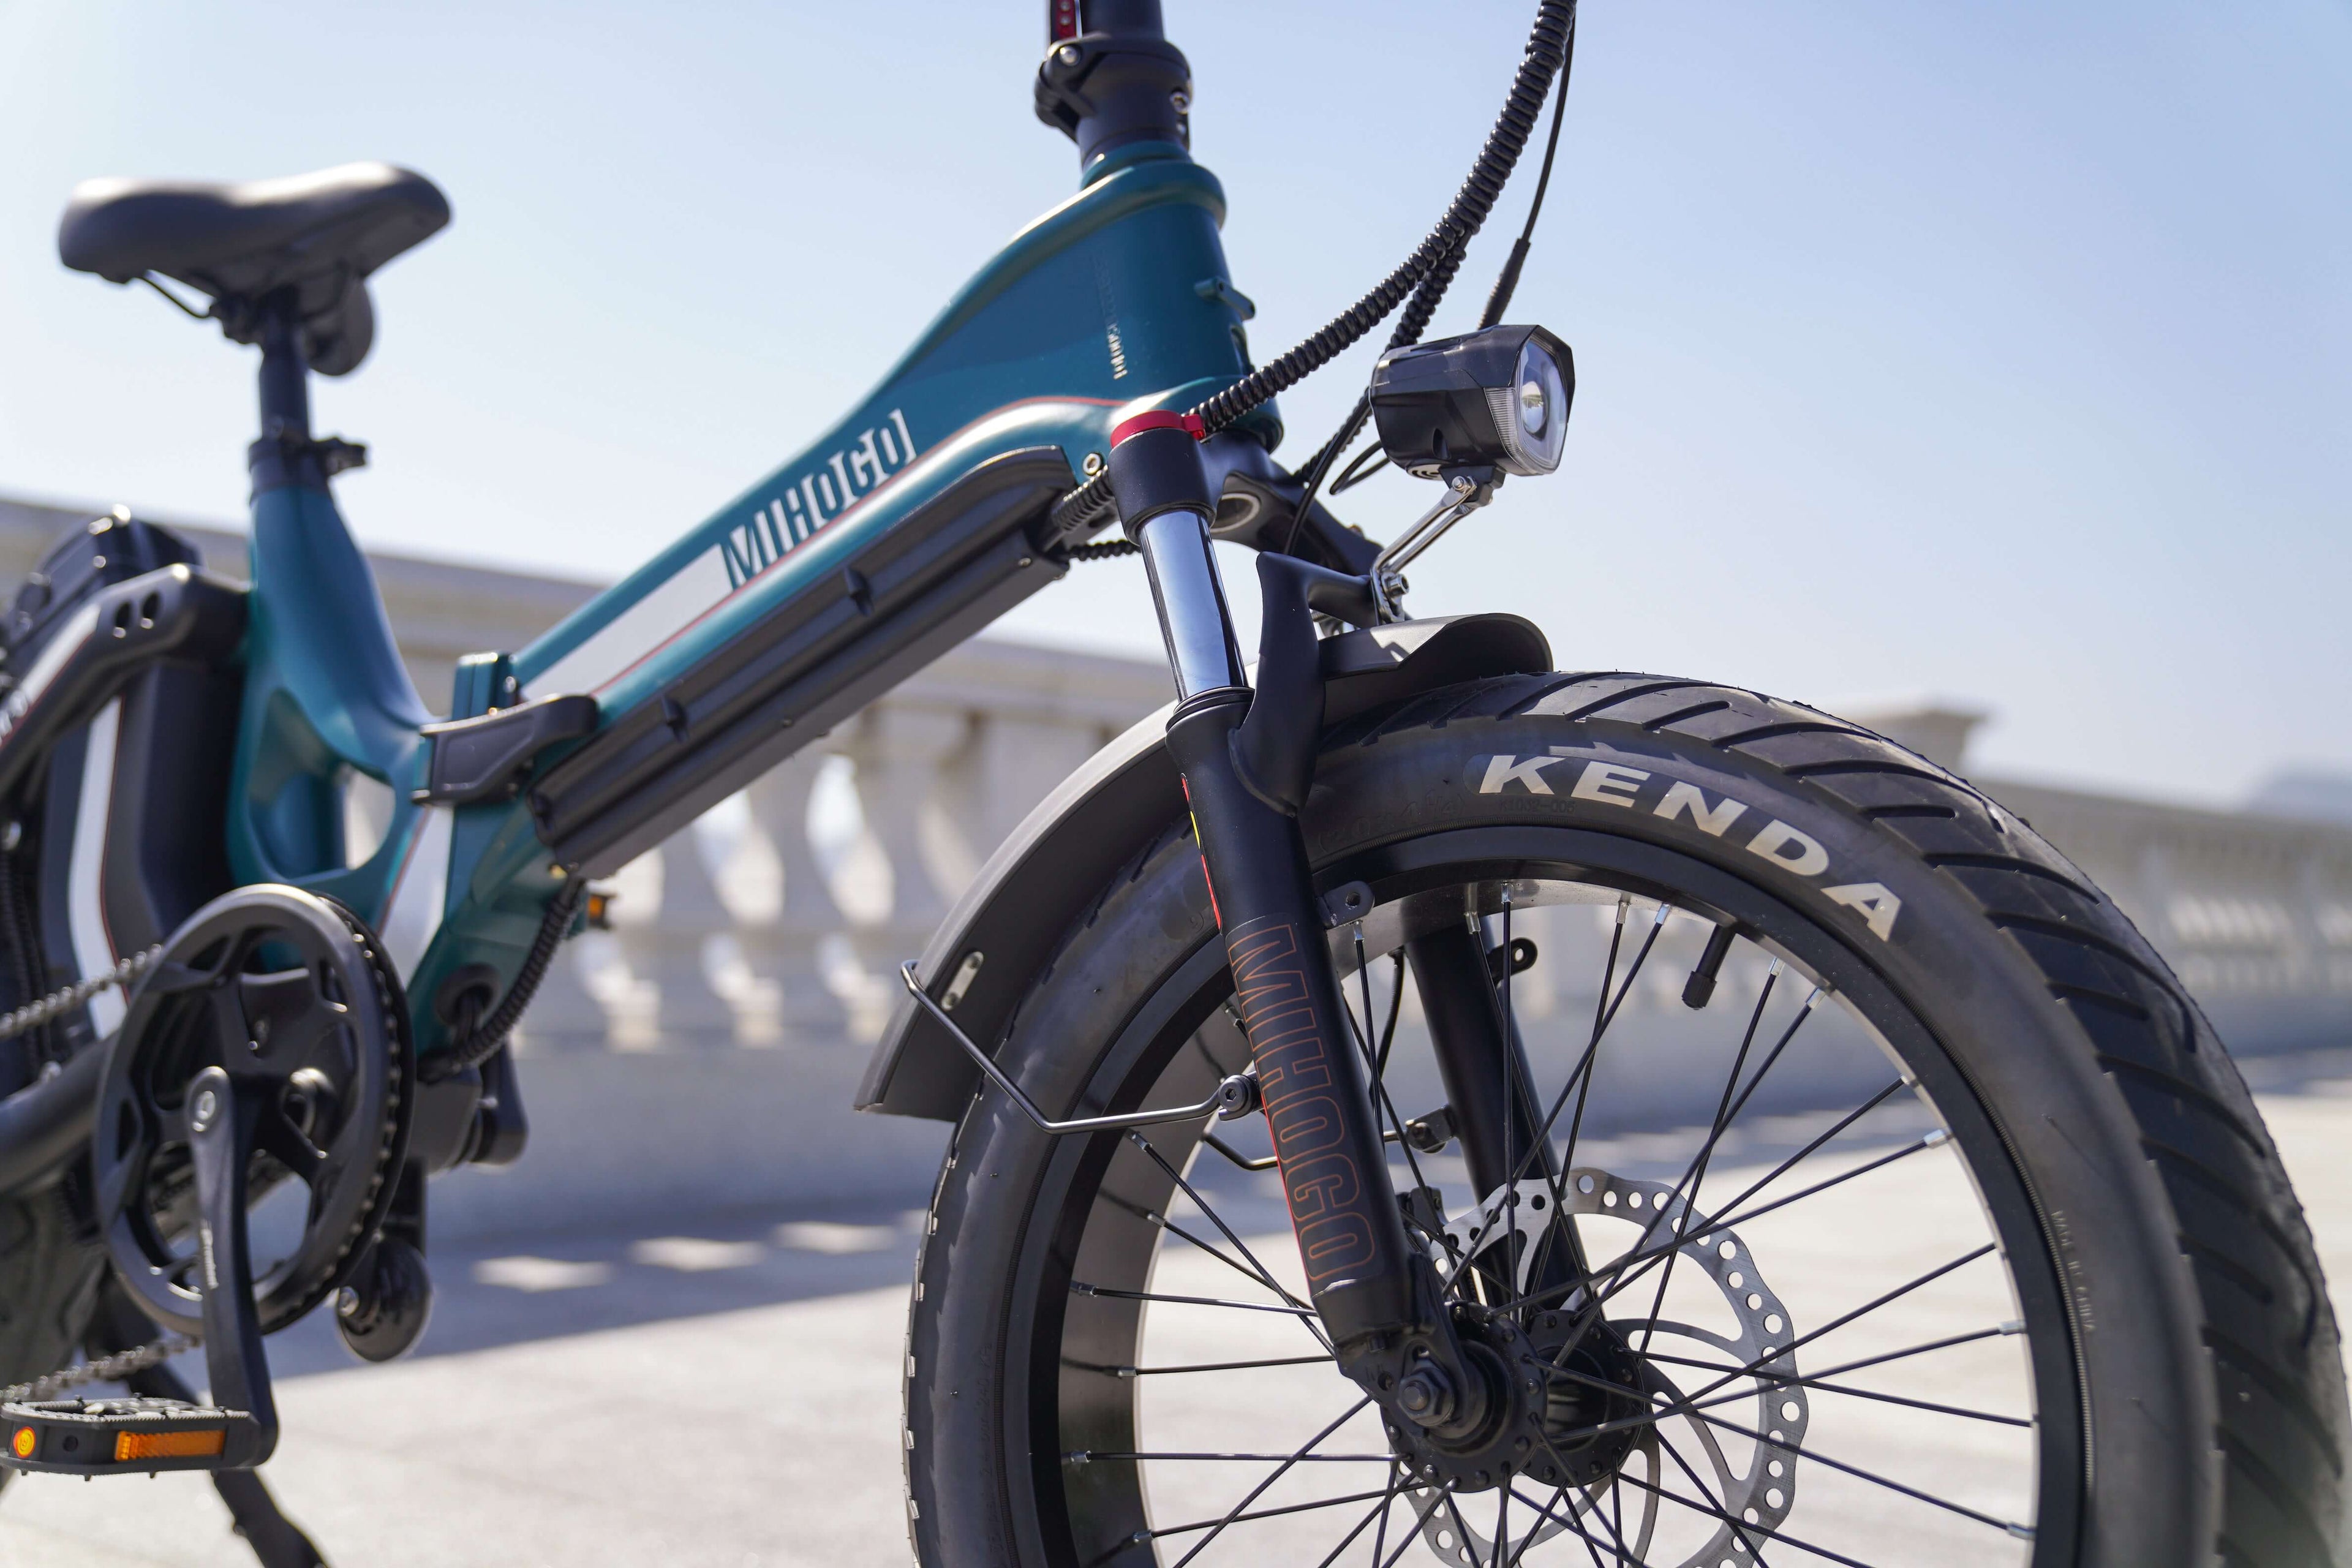
All Mihogo electric bikes feature advanced hydraulic disc brake systems designed to handle the increased weight and speed of electric bicycles. Unlike traditional bicycles, e-bikes require more robust braking systems due to their heavier construction and higher average speeds.
Mihogo Models and Their Brake Specifications:
- Mihogo NX: Dual hydraulic disc brakes providing reliable stopping power for off-road adventures
- Mihogo LX 4.0: Powerful hydraulic disc brakes on both wheels offering prompt stopping power at top speeds
- Mihogo RX 2.4: Hydraulic disc brakes with potent stopping power for urban exploration
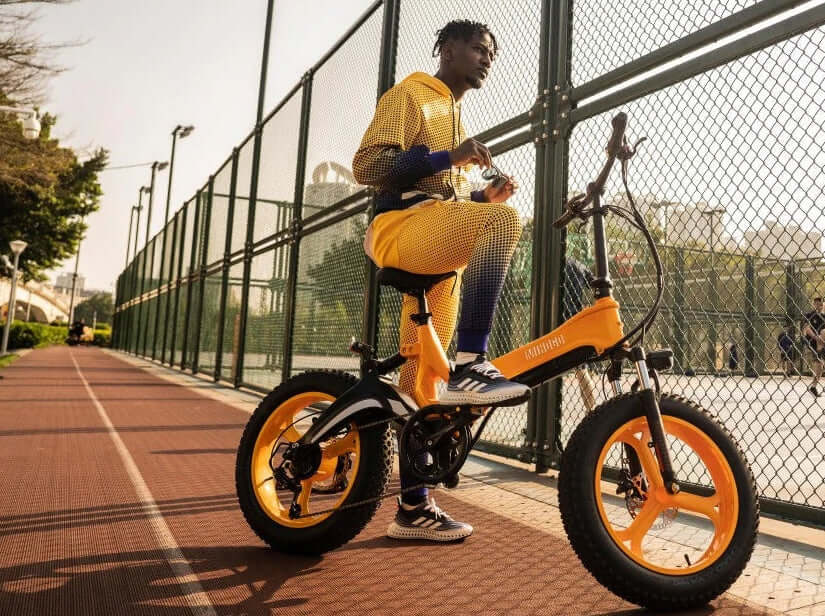
- Mihogo Mini: Disc brake system designed for compact urban mobility
- Mihogo ONE: Premium hydraulic braking system for utility applications
- Mihogo Air Max: Advanced disc brake technology for long-range performance
When to Replace Your Mihogo E-bike Brake Pads
E-bikes are heavier and travel at higher average speeds than traditional bicycles, so their braking systems are under much more stress. Regular inspection is essential for maintaining optimal performance and safety.
Visual Inspection Signs
Thickness Check: Replace your brake pads when the braking material is less than 1.5mm thick, which is roughly the thickness of a dime. Position yourself to look directly into the brake caliper where it sits over the metal brake rotor.
Physical Damage: Look for:
- Cracking or crumbling of the pad material
- Uneven wear patterns
- Glazed or shiny surfaces
- Missing chunks or pieces
Audio Warning Signs
Grinding or scraping sounds often mean the friction material has completely worn away, with metal touching metal between the pad's backing plate and brake rotor. Stop riding immediately if you hear these sounds.
Performance Indicators
Lever Feel Changes: If the lever feels soft and you have to pull it further than usual to get a response, your pads are likely worn thin.
Reduced Stopping Power: Longer stopping distances or requiring more force on the brake lever indicates worn brake pads.
Essential Tools and Parts for Mihogo Brake Pad Replacement
Required Tools
- 5mm Allen key (hex wrench)
- Needle-nose pliers
- Clean rags or paper towels
- Isopropyl alcohol (99% preferred)
- Flashlight or work light
- Safety gloves
Replacement Parts
- Genuine Mihogo brake pads (specific to your model)
- Brake cleaner (alcohol-based)
- Clean workspace
Important: Always use manufacturer-specified brake pads for your specific Mihogo model to ensure optimal performance and safety.
Step-by-Step Brake Pad Replacement Process
Step 1: Preparation and Safety
- Secure Your Bike: Place your Mihogo e-bike on a stable work surface or bike stand
- Power Down: Turn off your e-bike completely
- Cool Down: Allow brakes to cool if recently used
Step 2: Accessing the Brake Caliper
Locate the bolts holding your brake caliper to the frame. There will be one at the top and one at the bottom. Take a 5mm Allen key and remove both bolts.
Alternative Method: For easier access, you may remove the wheel entirely, especially helpful for rear brake maintenance on models with hub motors.
Step 3: Removing Old Brake Pads
Find the cotter pin that secures the brake pads inside the caliper. It's a metal pin with a looped head; the pin end is bent to keep it secured in place. Grab your needle-nose pliers and bend the end of the pin until it's straight, then push the pin out.
- Extract Retaining Hardware: Carefully remove the cotter pin or retaining clip
- Remove Worn Pads: Gently push down on the mechanism underneath where the cotter pin was, then flip the caliper around to see the brake pads emerging from the caliper
- Note Orientation: Take a photo of pad positioning before removal for reference
Step 4: Cleaning the Brake System
Caliper Cleaning: Use isopropyl alcohol and clean rags to thoroughly clean the brake caliper interior, removing any dust, debris, or old brake pad material.
Rotor Maintenance: Wipe the rotors with isopropyl alcohol or dedicated brake cleaner to remove any residue that could reduce friction.
Step 5: Installing New Brake Pads
- Prepare New Pads: Remove new brake pads from packaging, handling only by the backing plate
- Position Correctly: Re-attach the replacement brake pads to the clip, keeping them pinched together and slide them into the center of the caliper
- Secure Installation: Reinstall the cotter pin or retaining clip, ensuring proper engagement
Step 6: Reassembly and Adjustment
- Reattach Caliper: Mount the brake caliper back to the frame using the 5mm Allen bolts
- Check Alignment: Ensure the caliper is properly centered over the rotor
- Verify Clearance: Spin the wheel to check for any rubbing or interference
Post-Installation Brake System Setup
Brake Lever Positioning
Squeeze the brake lever several times to position the pads correctly and check for proper clearance between the rotor and pads. This process helps seat the new pads properly.
Initial Break-in Period
Bedding Process: New brake pads require a break-in period. Perform several gentle stops from moderate speeds to properly bed the pads against the rotor surface.
Performance Monitoring: After replacement, check for leaks in hydraulic systems and adjust the brake caliper for optimal performance.
Maintenance Schedule for European Riders
Regular Inspection Intervals
Check your e-bike brake pads every 500 miles or when braking feels less responsive. For European urban commuting, this typically translates to monthly inspections for regular riders.
Seasonal Considerations
Winter Riding: European winter conditions with salt and moisture require more frequent brake maintenance Summer Tourism: Extended rides during holiday seasons may accelerate brake pad wear
Climate-Specific Maintenance
European riders should consider:
- Increased inspection frequency during wet seasons
- Protection from road salt during winter months
- Regular cleaning after beach or coastal rides
Troubleshooting Common Issues
Brake Noise After Replacement
Squealing: Often indicates contaminated pads or improper bedding Grinding: May suggest incorrect installation or damaged rotors
Reduced Braking Performance
Spongy Feel: Could indicate air in hydraulic lines requiring professional bleeding Insufficient Stopping Power: May require rotor inspection or caliper adjustment
Uneven Pad Wear
Causes: Misaligned calipers, warped rotors, or contaminated brake surfaces Solutions: Professional alignment check and rotor inspection
Professional Service vs. DIY Maintenance
When to Seek Professional Help
- Hydraulic brake bleeding
- Rotor replacement or truing
- Caliper alignment issues
- Electrical brake sensor problems (specific to e-bikes)
DIY Maintenance Benefits
- Cost savings on routine pad replacement
- Better understanding of your bike's braking system
- Immediate response to safety concerns
Mihogo-Specific Maintenance Tips
Model-Specific Considerations
Fat Tire Models (NX, LX 4.0): These models feature robust suspension systems that work with hydraulic disc brakes, requiring attention to both brake and suspension alignment.
Folding Models (RX 2.4, Mini): Compact designs may require wheel removal for easier brake access.
Utility Models (ONE, Air Max): Heavy-duty applications may require more frequent brake pad replacement due to increased load capacity.
Warranty Considerations
Always use genuine Mihogo replacement parts to maintain warranty coverage. Mihogo offers extended warranties on battery systems and complimentary replacement of damaged vehicle parts for 12 months.
Advanced Brake System Features
Smart Integration
Mihogo e-bikes feature high-definition IPS displays that can monitor brake system status and provide maintenance alerts. Regular brake maintenance ensures these systems function properly.
Motor Cutoff Systems
E-bike brake systems include motor cutoff switches that disengage power assistance during braking. Proper brake pad maintenance ensures these safety systems function correctly.
Cost-Effective Maintenance Strategies
Bulk Purchasing
Consider purchasing brake pads in sets for both front and rear wheels to ensure consistent performance and cost savings.
Preventive Maintenance
Regular cleaning and inspection prevent costly rotor replacement and extend overall brake system life.
Seasonal Preparation
Prepare brake systems before intensive riding seasons with fresh pads and thorough system inspection.
Environmental Considerations for European Riders
Sustainable Practices
- Proper disposal of worn brake pads at authorized recycling centers
- Use of eco-friendly brake cleaners when possible
- Regular maintenance to extend component life
EU Compliance
Mihogo bikes adhere to European Union standard EN15194 and have obtained safety certification from TUV Rheinland, ensuring brake systems meet European safety standards.
Conclusion
Maintaining your Mihogo e-bike's brake system through regular pad replacement is essential for safe riding throughout Europe. Regular brake pad checks every 500 miles prevent dangerous failures and keep your e-bike stopping reliably when it matters most.
With proper tools, genuine Mihogo replacement parts, and following this comprehensive guide, you can ensure your electric bike's braking system performs optimally for years of safe riding. Remember that while brake pad replacement can be performed at home, more complex hydraulic system maintenance should be handled by qualified professionals.
For additional support and genuine Mihogo replacement parts, visit the official Mihogo EU website where you can find model-specific components and technical support.